
July 11, 2023
A Beginner's Guide to Getting Started with Omnistack.io
Introduction:
Welcome to Omnistack.io, an intuitive platform that empowers users to create websites easily. In this step-by-step tutorial, we will walk you through the initial setup process, including signing up for an account and getting familiar with the platform's interface. Additionally, we will introduce you to the key features and tools available within Omnistack.io that will enable you to embark on your website creation journey.
 Step 1: Signing up for an Account
- Visit the Omnistack.io website at www.omnistack.io.
- Click on the "Login" button located at the top-right corner of the home page.
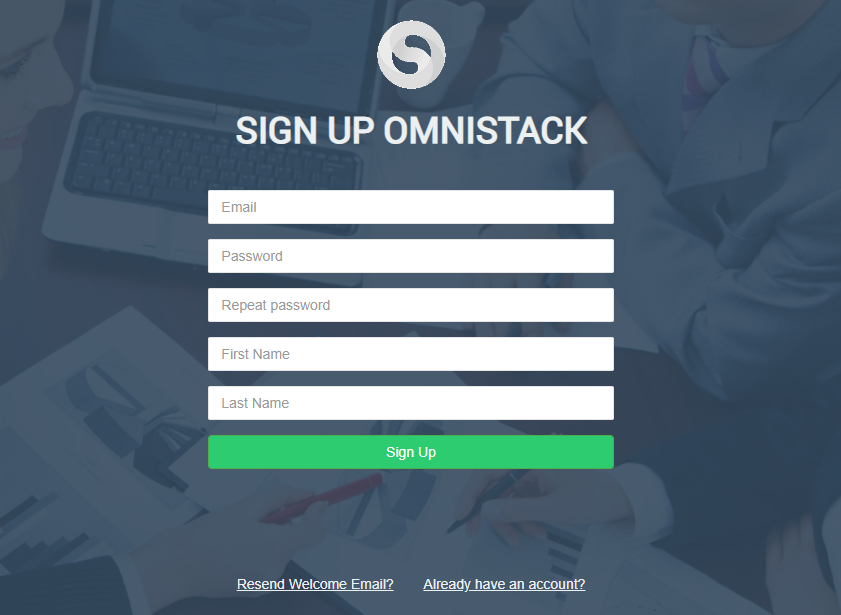
- On Login Page, Click on the "Sign Up" link located at the bottom-left corner of the page.
- Fill in the required information, including your name, email address, and password.
- Click on the "Sign Up" button to create your account.
Step 2: Exploring the Platform's Interface
- Once you have successfully signed up, you will be redirected to the Omnistack.io dashboard.
- Take a moment to familiarize yourself with the various sections and navigation options available on the dashboard.
- Navigate through the menus to discover the different features and tools that Omnistack.io offers for website creation.
 Step 3: Overview of Key Features and Tools
- Templates: Explore the wide range of professionally designed templates available for different types of websites. Choose a template that suits your website's purpose and style.
- Drag-and-Drop Builder: Utilize the intuitive drag-and-drop builder to create stunning web pages without any coding knowledge. Easily add and customize elements such as text, images, videos, buttons, and more.
- Website CMS: Take advantage of the content management system (CMS) to efficiently manage and update your website's content, including pages, blog posts, and multimedia.
- Form Builder: Create custom forms using the drag-and-drop form builder. Capture user data, receive inquiries, and streamline communication with your audience.
- Social Media Integration: Seamlessly connect your website to your social media accounts, allowing you to manage and schedule social media posts directly from Omnistack.io.
- Design Customization: Personalize the appearance of your website by choosing from various themes, fonts, colors, and layout options. Tailor the design to align with your brand identity.
- Analytics and Insights: Monitor and analyze your website's performance using built-in analytics tools. Gain valuable insights into visitor behavior, traffic sources, and more.
Conclusion:
Congratulations! You have successfully completed the initial setup process and familiarized yourself with the key features and tools offered by Omnistack.io for website creation. By leveraging the platform's intuitive interface and powerful tools, you are now equipped to embark on your website building journey. Stay tuned for our next article, where we will dive deeper into using the drag-and-drop builder to create visually stunning web pages without any coding.